
Siding Installation and Repair in Albuquerque, New Mexico
Siding Installed to Shield, Seal, and Last
Warped panels, faded color, sections pulled away from the wall, gaps at corners where light comes through. By that point, the siding has usually been failing at its primary job for longer than the visual evidence suggests. Siding is the first line of defense against wind-driven rain, UV degradation, impact, and moisture infiltration that would otherwise work directly against the sheathing and framing behind it. When it is not installed correctly, the wall assembly absorbs the consequences. Dream Home Innovations has spent 25 years installing and repairing siding on homes where the visible failure was the least of what the inspection revealed once panels came off the wall.
Homeowners in Albuquerque, New Mexico, Rio Rancho, Bernalillo, Placitas, and Edgewood are within our service area. Siding is common on many homes throughout the East Mountains communities, newer subdivisions in Rio Rancho, and older wood-frame neighborhoods in Albuquerque. New Mexico's climate places specific demands on siding. UV intensity at Albuquerque's elevation degrades surface coatings faster than lower-altitude environments. Monsoon season brings wind-driven rain that exposes gaps in corner trim, window head flashing, and horizontal lap joints. Freeze-thaw cycling then forces water into open joints created during the summer season.
Our siding scope covers fiber cement, vinyl, and wood siding installation, localized repair of damaged sections, moisture barrier installation, trim work at windows and doors, and painting coordination where the material requires a finish coat. We assess the existing wall assembly before any new siding material is specified. What sits behind the panels determines how the new installation performs.
Our Siding Services
Fiber Cement Siding Installation
We install fiber cement lap siding, panel siding, and trim boards on residential exteriors. Work includes moisture barrier application, starter strips, correct lap overlap, stainless fasteners, caulking at joints, and preparation for primer and paint so the completed installation performs reliably over time after completion.
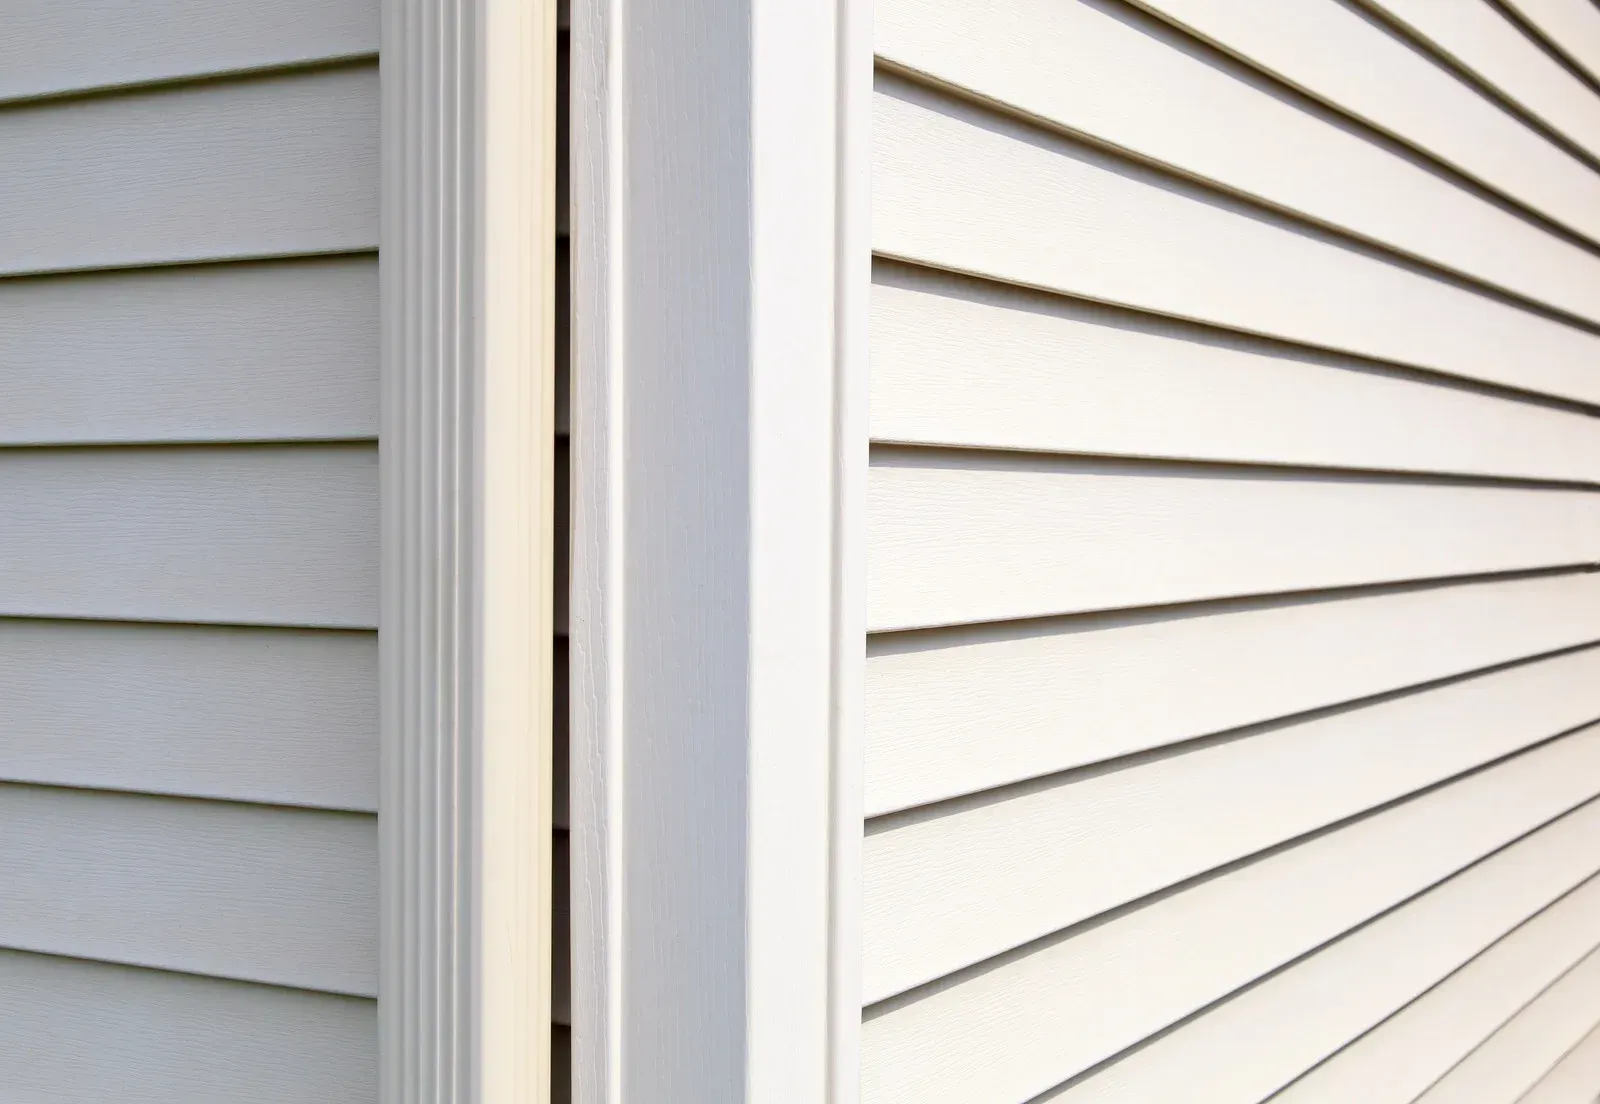
Vinyl Siding Installation
We install vinyl siding with correct expansion gaps at end joints and trim connections, proper horizontal lap overlap, and nail hem fastening at specified spacing. Installations include J-channel at openings, corner posts, and utility trim at soffits and roof-to-wall transitions for a clean exterior finish.
Wood Siding Installation and Repair
We install and repair wood lap siding, shiplap, and board-and-batten systems on residential exteriors. Work includes moisture barrier application, back-priming cut ends, correct nailing patterns, and primer and paint application to exposed surfaces before weather exposure begins affecting the finished siding installation each season properly.
Siding Repair and Section Replacement
We remove and replace siding sections damaged by impact, water infiltration, UV degradation, or pest activity without disturbing sound surrounding panels. Repairs include checking the moisture barrier and sheathing, correcting hidden damage, and installing matching replacement material that blends with the existing profile and color.
Moisture Barrier Installation and Replacement
We install house wrap and building paper on walls being re-sided, following proper bottom-to-top lapping, seam taping, and integration with window and door flashing. We also replace failed moisture barriers found during siding removal so water moves out of the wall assembly properly during storms.
Window and Door Trim Installation
We install exterior window and door trim, including head flashing, side casings, sill extensions, and drip caps that integrate with surrounding siding. Trim work includes proper caulking at frame, siding, and trim junctions to help prevent water infiltration around every opening and exterior edge properly.
Why Siding Installed Correctly Protects Far More Than the Exterior Appearance
Moisture Barrier Integrity Below the Siding Surface
House wrap and building paper beneath siding create a drainage plane that directs water downward and out of the wall assembly. Without a continuous, correctly lapped moisture barrier, even small gaps in siding can allow water to reach sheathing, insulation, and framing directly behind it.
Thermal Expansion Allowance That Prevents Warping
Vinyl and engineered wood siding expand and contract as temperatures change. Without manufacturer-specified gaps at end joints and trim connections, panels can buckle or distort. Proper expansion allowance is built into the installation so seasonal movement occurs without forcing material against fixed points over time.
Fastener Pattern That Holds Through Wind Events
Siding installed with incorrect fastener spacing or fasteners driven too tightly can fail under wind load before the material reaches its service life. Correct nail or screw placement, spacing, and depth help panels remain secure through the wind events the region regularly delivers each season.
Trim and Flashing Detail That Prevents Water Entry
The most common water entry points in siding are windows, doors, corners, roof-to-wall junctions, and penetrations. Proper head flashing, sealed trim, caulking, and penetration detailing prevent water from entering where siding panels stop, and exterior openings or fixtures interrupt the wall surface during hard storms.
Material Selection Matched to the Exposure
Fiber cement, vinyl, and wood siding respond differently to UV exposure, temperature swings, moisture, and wind direction. Matching material to each wall elevation, sun exposure, and surrounding conditions helps the siding perform with the climate instead of failing early against it over time.
Long-Term Structural Protection for the Wall Assembly
Correctly installed siding protects sheathing, insulation, and framing by keeping moisture out of the wall assembly. Over decades, the strength and durability of exterior walls depend on how well the siding, trim, flashing, and moisture barrier manage water before it reaches structural materials inside.
Exterior Walls Protected the Right Way
The exterior of a home does not get a rest between seasons. Albuquerque's summer UV intensity fades and chalks what the previous winter's freeze-thaw cycling cracked open. Monsoon winds push water horizontally into every gap that inadequate trim detail left unaddressed. And then winter returns to work on whatever the summer left behind. After 25 years of siding installations and repairs across homes in Albuquerque, Rio Rancho, Corrales, and throughout the surrounding Bernalillo County communities, Dream Home Innovations understands what this climate demands of an exterior installation and what it exposes in one that was done without sufficient care. We install siding throughout Albuquerque, New Mexico with the moisture barrier detail, fastener pattern, and trim precision that the climate requires, because siding that protects a home correctly is the only version that justifies the investment of putting it there.
FAQs - Frequently Asked Questions
What siding material holds up best in New Mexico's climate?
Fiber cement is the most durable siding option for New Mexico's climate. It resists UV degradation, moisture infiltration, impact, and fire better than vinyl or wood. It does require painting, but the substrate itself does not rot, warp, or crack under the temperature cycling and UV intensity the region delivers.
How do you install siding over an existing layer of old siding?
Installing new siding over existing material is possible in some cases but requires assessing the existing layer for moisture damage, verifying the wall is still plumb, and ensuring the added thickness does not compromise window and door trim depth. In many cases, removing the existing layer is the more reliable approach for assessing the moisture barrier beneath.
What causes vinyl siding to buckle and warp after installation?
Vinyl siding buckling results almost entirely from installation without adequate expansion gap allowance at end joints and nail hem fastening. Nails driven too tightly prevent the panel from moving as temperature changes expand the material. Correct installation leaves the panels hanging loosely on the nail hem so thermal movement occurs without restriction.
Does Dream Home Innovations install siding as part of a full home remodel in Albuquerque?
Dream Home Innovations installs siding as part of full home remodels and as a standalone exterior replacement project throughout Albuquerque, New Mexico and surrounding communities including Rio Rancho, Corrales, Bernalillo, and Edgewood. We coordinate siding with roofing, painting, and gutter replacement where the project scope includes multiple exterior components.
How do I know if my existing siding needs full replacement or targeted repairs?
Widespread warping, multiple areas of moisture infiltration behind the panels, siding that is pulling away from the wall in several locations, and material that is past its manufacturer's rated service life typically indicate full replacement is more practical than targeted repairs. Localized impact or storm damage on otherwise sound siding is usually repairable without full replacement.
What is the purpose of house wrap behind siding?
House wrap creates a drainage plane between the siding and the wall sheathing that allows any water penetrating the siding surface to drain downward and out of the wall assembly rather than into the framing. It also provides a secondary air barrier that improves the thermal performance of the wall assembly it protects.
How is fiber cement siding finished after installation?
Fiber cement siding requires primer and paint application after installation. All cut ends are back-primed before installation, and the full installed surface receives a primer coat followed by a minimum of two finish coats of exterior paint. Paint is the weather barrier for fiber cement and requires reapplication every ten to fifteen years depending on UV exposure and product selection.
What trim details are critical for a water-tight siding installation?
Head flashing over windows and doors, caulked corner trim at exterior corners, sealed penetrations at utility entries and fixtures, and correct J-channel or drip cap installation at roof-to-wall transitions are the trim details that determine whether a siding installation is water-tight. Panel quality matters far less than the termination and flashing detail at every opening and junction.